Tuesday, January 14, 2014

Repurposed "Art Moderne" dumpster find

During our master bedroom remodel, we tore down our old closet, and moved it to make two smaller-but efficient closets. In doing that our bedroom gained a long wall with negative space.  I told my husband that I desperately wanted to find a small desk that I could make into a custom vanity (inspiration from this pinterest-found blog).  I started combing craigslist for free or cheap furniture.  I looked and looked, but could not find anything I really wanted.  I knew the next town over did its yearly large dump day (everyone throws out their unwanted items onto the curb and they haul it off) and over the weekend just prior to pick up many people comb the neighborhoods for dumpster finds.  It is actually quite a thing to see, so many are looking for scrap metal, or usable goods, and many people put stuff out there knowing that us scavengers will be out looking!

Early on a Sunday morning I loaded my two littles into my suburban, and put a movie on for them while my husband was sleeping after his overnight shift, and headed over to scavenge In the corner of my eye I saw something that looked like a dresser and drawers and I was AMAZED at what I found after only about 10 minutes of searching. 
Under all that dust is a functional and beautiful piece!
A 1940s wartime "art moderne" style vanity built by a mainstream company (it could have even been manufactured by women during WWII). I had originally hoped to leave some of its veneer, but it was chipping up in a lot of places, and had quite a bit of water and residue damage.  I shopped pinterest for ideas, and headed to home depot to decide on spray paint colors.  Instead of using regular paint, I chose to use a high gloss professional enamel spray paint to make sure that it would be easy to clean and water proof.

For this project:
  • 1 vanity
  • 2 cans of professional enamel black spray paint
  • 2 cans of key lime green spray paint
  • 2 yards of fabric
  • 1 large cardboard box  (for making drawer inserts )
  • Sand paper (fine/medium)
  • 1 can of 3m spray adhesive (gets kinda messy but works the best) you will need newspaper to lay down cause this can get messy)

I first cleaned it up, and awed in its great lines, and fixed the two drawers that weren't in the best of shape. So we sanded the surface a little bit with a fine/medium grit sand paper cause it had a bit of finish left on it, removed the damp dust and spray painted it. It needed two coats to make sure it was even, and be sure to let it dry thoroughly. If it is nice and warm outside it can sit outside, and it will harden well, you really don’t want it to be too cold, or it will stay sticky and take longer.  
you can kind of see the damage to the veneer, but there was quite a bit, and there was no fixing it

Once the black has cured and hardened, you will want to mask off the black face of the drawers with paper and tape. Measure or trace the inside of the drawers so that you can begin to make the liners with fabric and cardboard (lining the inside of the drawers is great because it can protect from makeup spills, and cover any previous damage. Ours had this sticky resin gunk mess (shown ) that I could not get off so doing this covered that up)
Nasty sticky residue in the drawers that We couldn't get off

Then spray the interior of the drawers (don’t worry about doing the bottom, as this may affect the functionality of the drawers), and while they are drying, work on the inserts.


about 1 1/2 inches around and fold smoothly 


We reused, re-purposed and built all of our bedroom furniture, so to make them match we used the high gloss black spray paint on all of our furniture, and then gave each piece a decal by using a stencil by Martha Stewart from home depot using flat black paint that we already had from a different project.
After everything has dried, put the dresser together and place it in the desired place.

As you can see here, we used the extra fabric to cover over this stool that I had in the garage. I used to use it as my hair chair, but a few years ago I got my hands on a professional chair to put in my little hair "salon" down stairs. We also spray painted the chair with the same black spray paint 


The lighting in our bedroom is not fully adequate. I will have to bring in some lights and take a much better photo.

Tuesday, January 7, 2014

My pallet headboard

Why build a Pallet Headboard?

Quick answer: BECAUSE!!

Long (but not too long) answer:  

-They are always intriguing. It doesn’t matter if you are a master craftsman, a tinker, or just good with power tools. They always look good, whether you paint them, stain them, or leave them rustic (although you may want to do a rough sand to prevent snags and splinters).

-Easy on the pocketbook. Pallets are everywhere. They can be found on craigslist, in the trash, on the curb… or if you are lucky, you may know someone (or  few) whose job always has a large quantity waiting to be rescued.  Bottom line; do not pay for any pallets, unless are paying for delivery. Pallets can be found essentially anywhere at no cost. 

My project:
  • 2-4 Pallets of different width boards.
  •     Sawzawll (you really want a corded sawzall it takes lots of juice to prep the boards)
  • Chalk Line
  •   Deck screws (1 1/4 – 1 ½ will do)
  •   Circular saw


*Knowledge of basic power tool operation and safety is a must for this project. 

The beginning of laying out headboard (yes, it was dusk)


Prepping the boards is fairly tedious, but easily done. (I prepped my boards, I’m on the tiny side). Here is a great link that explains with photos how to dismantle a pallet (How I learned).

Some of the boards will need ugly sides removed and also some nails will be sticking out too far, they can be removed with a grinder (or use a hammer and/or a nail setter).  After prepping the pallets, I staggered the boards evenly with the ugly side up (Remember that everything will be opposite, so think carefully before placing them) it's like fitting a puzzle together. 


awesome hubby fastening the back side
Once the boards are laid out in the pattern you like, center and measure the desired length and width, using a chalk line.  After marking the lines, we used the ugly pieces of the pallets  the back side of the headboard to ensure that all board creases were fastened. 

The next building step, flip over the headboard , and mark the desired width with a chalk line. Using a circular saw, cut off the ends.  


First flipped over... awe how pretty!

  If you want to make the headboard look as if it goes to the floor, you will need to add some misc. scrap pieces as shown below, and remember to fasten the backsides.

My Hubby measuring a board to fasten the scrap bottom pieces.

(To attach a metal bed frame, there must be holes pre-drilled, and attached using carriage bolts.)

The lower portion of this headboard will be hidden by the bed 

I loved the headboard in its rough form, but on a whim I decided to paint it with some left over teal paint from a previous project.  I did a very light rough sand, and went to town with the paint. I just did a light single coat, to keep it rustic.
I fell in love immediately.

Voila!!


We added a simple $15 desk lamp to the headboard by taking the base of the lamp off and feeding it into a pre drilled hole.

We built the night stand as well, but that is for another time.
We have since moved the bed to the other wall so it isnt up in the corner, but we had to rearrange the bedroom before we could do that. 


Monday, January 6, 2014

New year, New blog

I took a long hiatus from blogging. Although I am still doing projects and making food, between school full time and my two little ones, I barely have enough time to formulate the projects I have done into a full fledged blog. When On breaks from always busy full time school schedules, I do start missing my blog, and so I have decided to try and amp it up a bit, and do some much needed series writing. This blog is all about cooking, baking, and just having fun with my home.

Coming up:
Building a Bench Seat in the Kitchen
A Small Master Bedroom remodel
    - Dumpster Find Vanity customization
    - Dumpster Find old door into headboard
Pallet Headboard and night stand for my Tween/guest room
Living Room Update
Basement bathroom Revamp


Wednesday, June 6, 2012

Wrapping up the summer

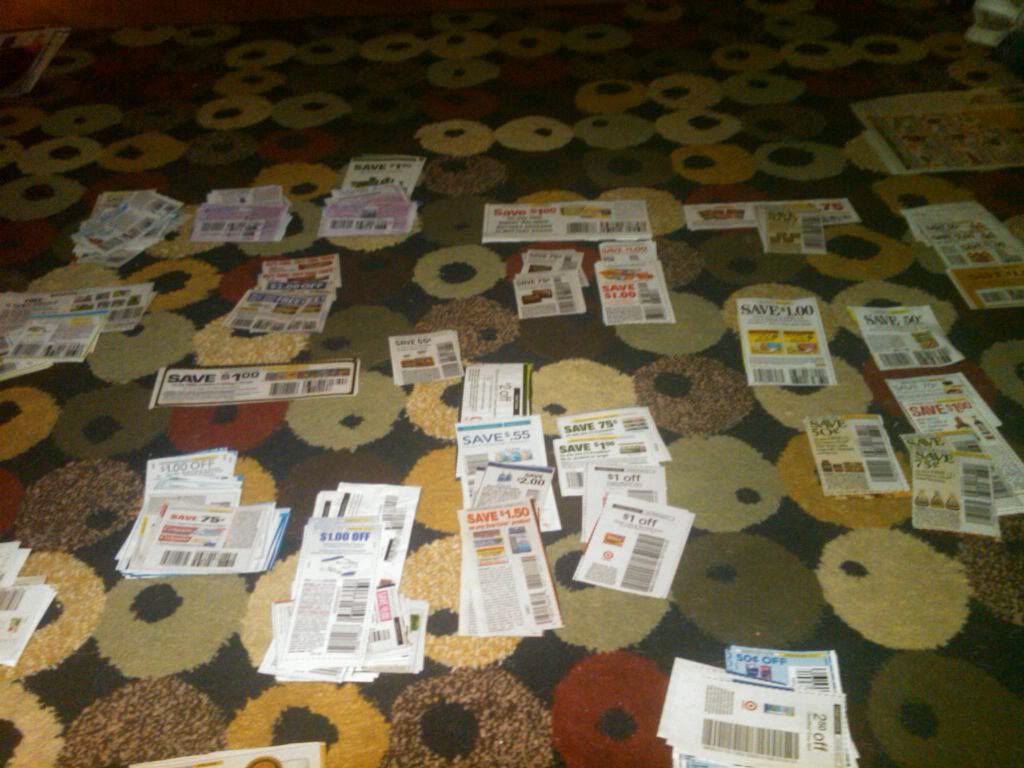
started couponing

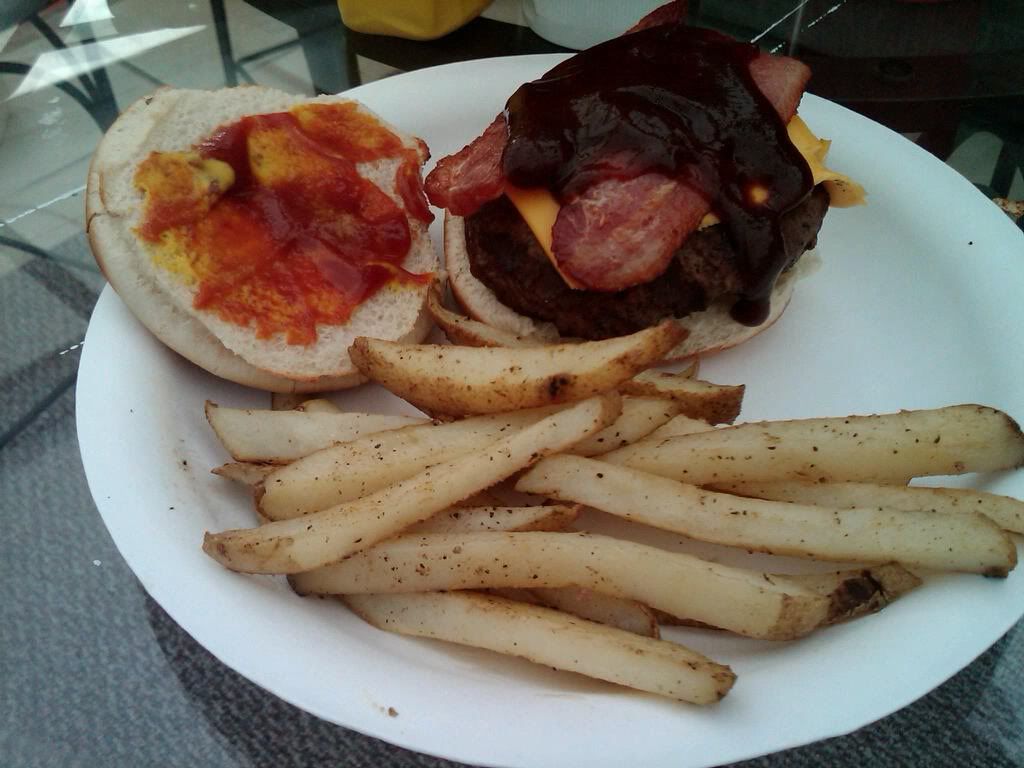
 made  BBQ bacon cheeseburgers with hand cut fries

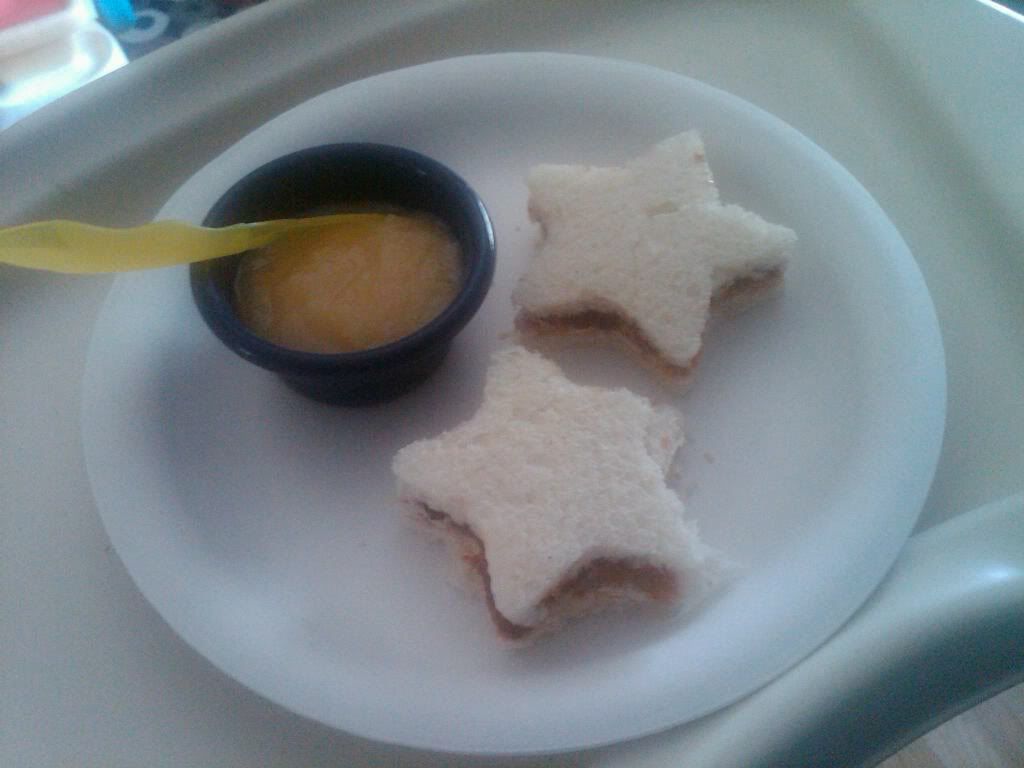
Made a 'Mermaids' inspired lunch for Lilli

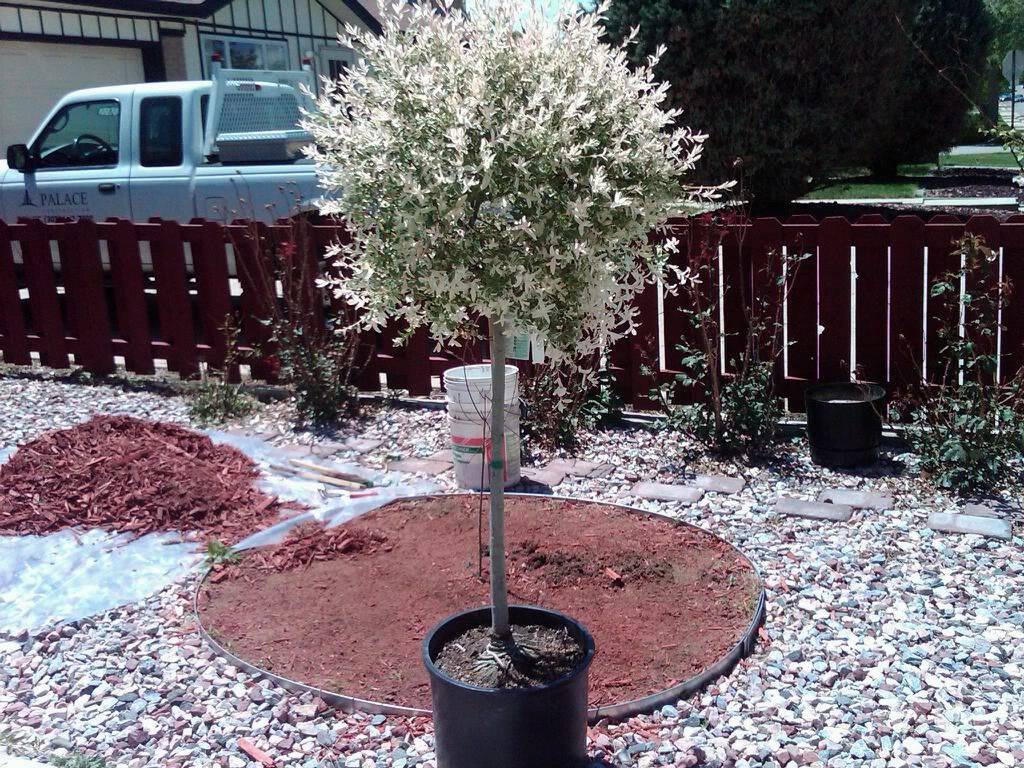
Planted this tree to celebrate isaaks birth-(placenta burried underneath)

Isaak had his 1st birthday

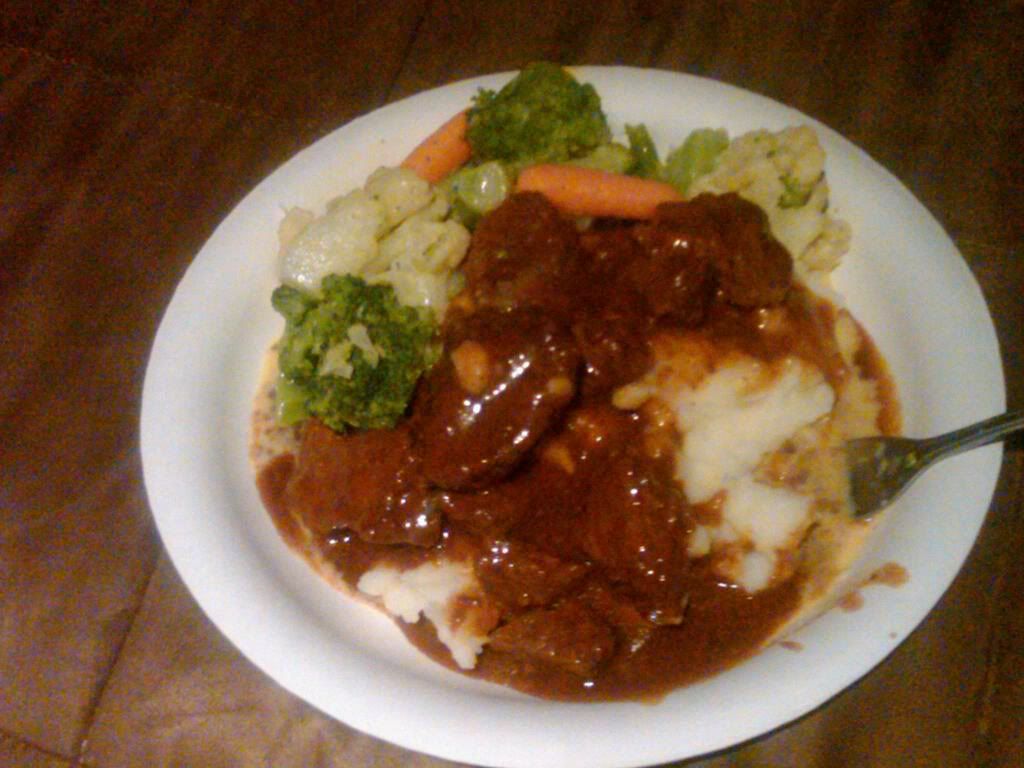
slow roasted BBQ beef tips

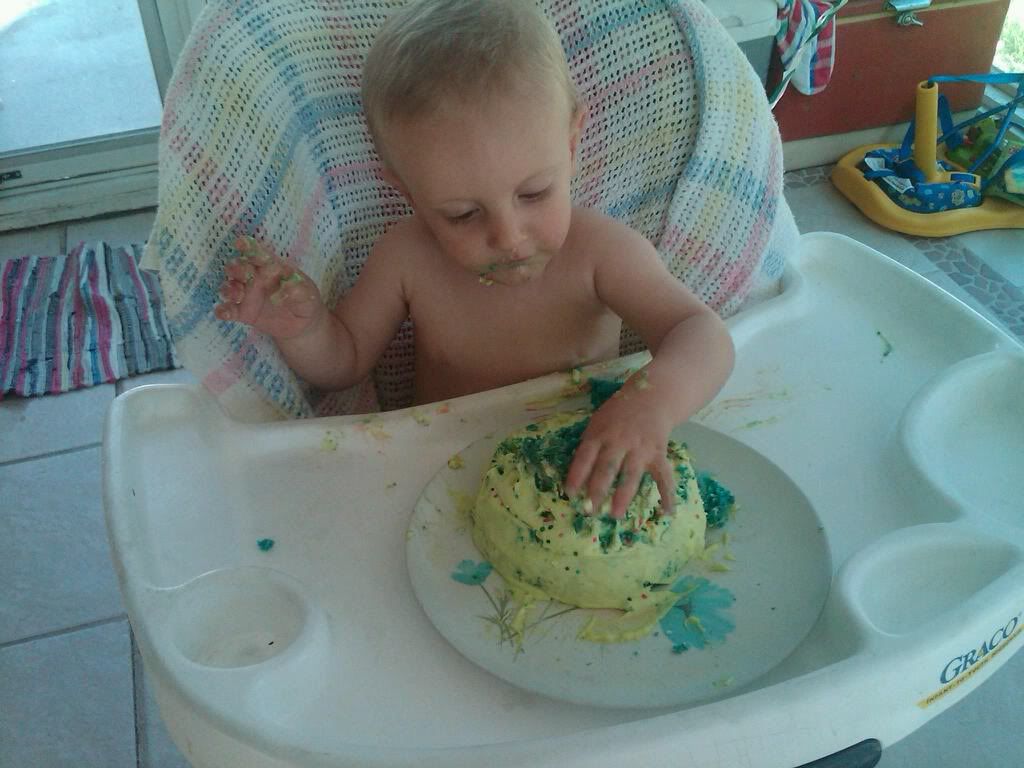
Ice cream cone cupcakes for Lillis 3rd birthday
I discovered that I did not post this last post from last summer, and I thought I would post it any way. These photos are not quite in order, but I will explain them all.  The top photo, is of me trying my hand at extreme couponing.  while I do believe I would have had great success, I had to put that on an "extreme hold" because of my full school schedule.
One of the things also in this photo set, is a home made BBQ bacon- cheese burger, with hand sliced fries, which did prove to be quite a hit.  Isaak celebrated his first birthday, and in the memory of my homebirth, I planted a tree with my son's placenta buried underneath, as a symbol of life, and what the placenta assisted with for the creation of him.
The summer time, is always a great time for barbecuing, which is something we do frequently. So I also shared my bbq beef tips with potatoes and veggies.
This photo set ended my first summer as a full time mom, and trying to become domesticated.
I took the school year as a break from my blog, and I will continue writing for the summer.
Thank you for reading.
Ty

Friday, August 5, 2011

Taco inspired mac and cheese

More catching up!

One of the things i made in late spring, which i thought was very tasty, was a Mexican inspired dish. I made a home made cheese sauce with a mexican cheese blend, bleu and feta cheese crumbles, and whipping cream. and it was a very creamy, and tasty sauce. it was a big hit for the family, but not good for left overs. maybe next time i will consider making it as a casserole or removing the noodles, and making it like a party dip.

ok heres the recipe

-8oz Heavy Whipping Cream
-2 cups (eye ball it) of shredded cheese (i used a mexican four cheese blend, and added bleu/feta cheese crumbles for tang)
-8oz bag of elbow or egg noodles
-black beans
-taco seasoned beef (turkey, or just add taco seasoning to the cheese sauce and add pinto beans or another favorite alternative)
-sour cream

Brown your beef in a skillet (or turkey) and add taco seasoning according to package. (i'm not cool enough to do my own mix yet)

In a sauce pan, warm up the whipping cream on a low setting of the stove, once the cream starts to steam up (not boiling) start stirring in your cheese. You want your sauce to be thick and creamy. it will string up, so keep stirring it so it doesn't stick to the bottom.

in a pot, boil your noodles until they are almost soft but still firm. strain noodles return to pot

poor your cheese sauce over your meat and blend well, once you blend the cheese and meat add it to your noodle pan. and fold it in until your noodles and meat are even through out.

serve in a bowl with black beans and sour cream on top.

This was the first time i made a cheese sauce and it was truly delightful!


Sunday, July 3, 2011

guest blogger: roo plus two

i too am becoming domesticated. i see opportunities to express my artistic desires in food while my children nap and my husband is already fed. well, i find the reason to be artistic edibly-like, because i don't necessarily have time to paint a picture on fourth of july weekend. oh yeah, happy fourth, peeps.


i threw together two dishes to bring to a bbq: blueberries atop jalapeno strawberry jam atop a whipped cream cheese smear on a wheat thin; and a


delish baby platter, bananas sliced and arranged into a star formation with Nutella and crushed graham crackers.
now, i wait until my 17 month old (today, tear) babies wake up and we can go play.


cheers!
roo plus two

Thursday, June 2, 2011

Home made pizzas

So... last month I experimented with pizza crust.... trying to make food more interesting, even if there's some different ways to prepare the same thing-just helps change it up.

I made 2 different pizzas in the same night.

Buffalo Ranch Chicken pizza, and a BBQ pizza
both turned out interesting-but not as good as left overs
-------------------------------------------------------------------------------

Buffalo Ranch Chicken Pizza
1 12in batch of pizza crust (so many recipes/ready mixes find the one you like best)
1 large chicken breast-cut into fairly small pieces
ranch dressing
hand full of blue cheese crumbles
2 carrots
1 piece of celery
couple hand fulls of mozzarella (or Monterrey jack)
wing sauce (the most popular is franks-mmm)

if you have a 'magic bullet' this comes in handy while mixing ranch dressing with blue cheese crumbles-it gives you an evenly blended paste like sauce perfect for spreading on pizza crust
if not, use a mixer, or do it by hand.
-mix blue cheese and ranch evenly together, then
let chill in the fridge while your doing the next steps

-prepare your dough-cover with a cloth towel that is lightly floured so it doesn't stick

-dice your chicken into
small pieces and place into a skillet and add the franks-be generous.
cover with a lid and cook on a low medium (cooking chicken too high will make it rubbery)

-wash hands and work with dough. stretching it onto your pan. (don't forget to remove your rings too... dough can be pesky)

-spread sauce liberally but evenly

-add cheese-and once chicken is done cooking,
add chicken

-on the very top add your veggies and bake for 12-15m until crust is golden brown (or other wise directed on your crust directions)

beer serves well as an addition to the pizza (wings....pizza.....beer...) so pick the beer you like best to go with wings or pizza!!

**for a vegetarian twist you may be able to use finely cut tofu... or use a chicken substitute just make sure to toss it in franks sauce**


BBQ pizza

bbq sauce (use your fave!)
fresh corn-2 cobs-corn cut from cob
cheddar cheese
mozzarella cheese

prepare crust
cook chicken on low medium-you can actually grill this chicken-yum!!
and follow the previous directions to put this pizza together.

I'm not quite sure what would be a yummy vegetarian twist for the bbq pizza-so if you have one, please let me know and ill update this!

Like i said, these pizzas were yummy fresh out of the oven-but not the next day. so make sure your hungry!!!